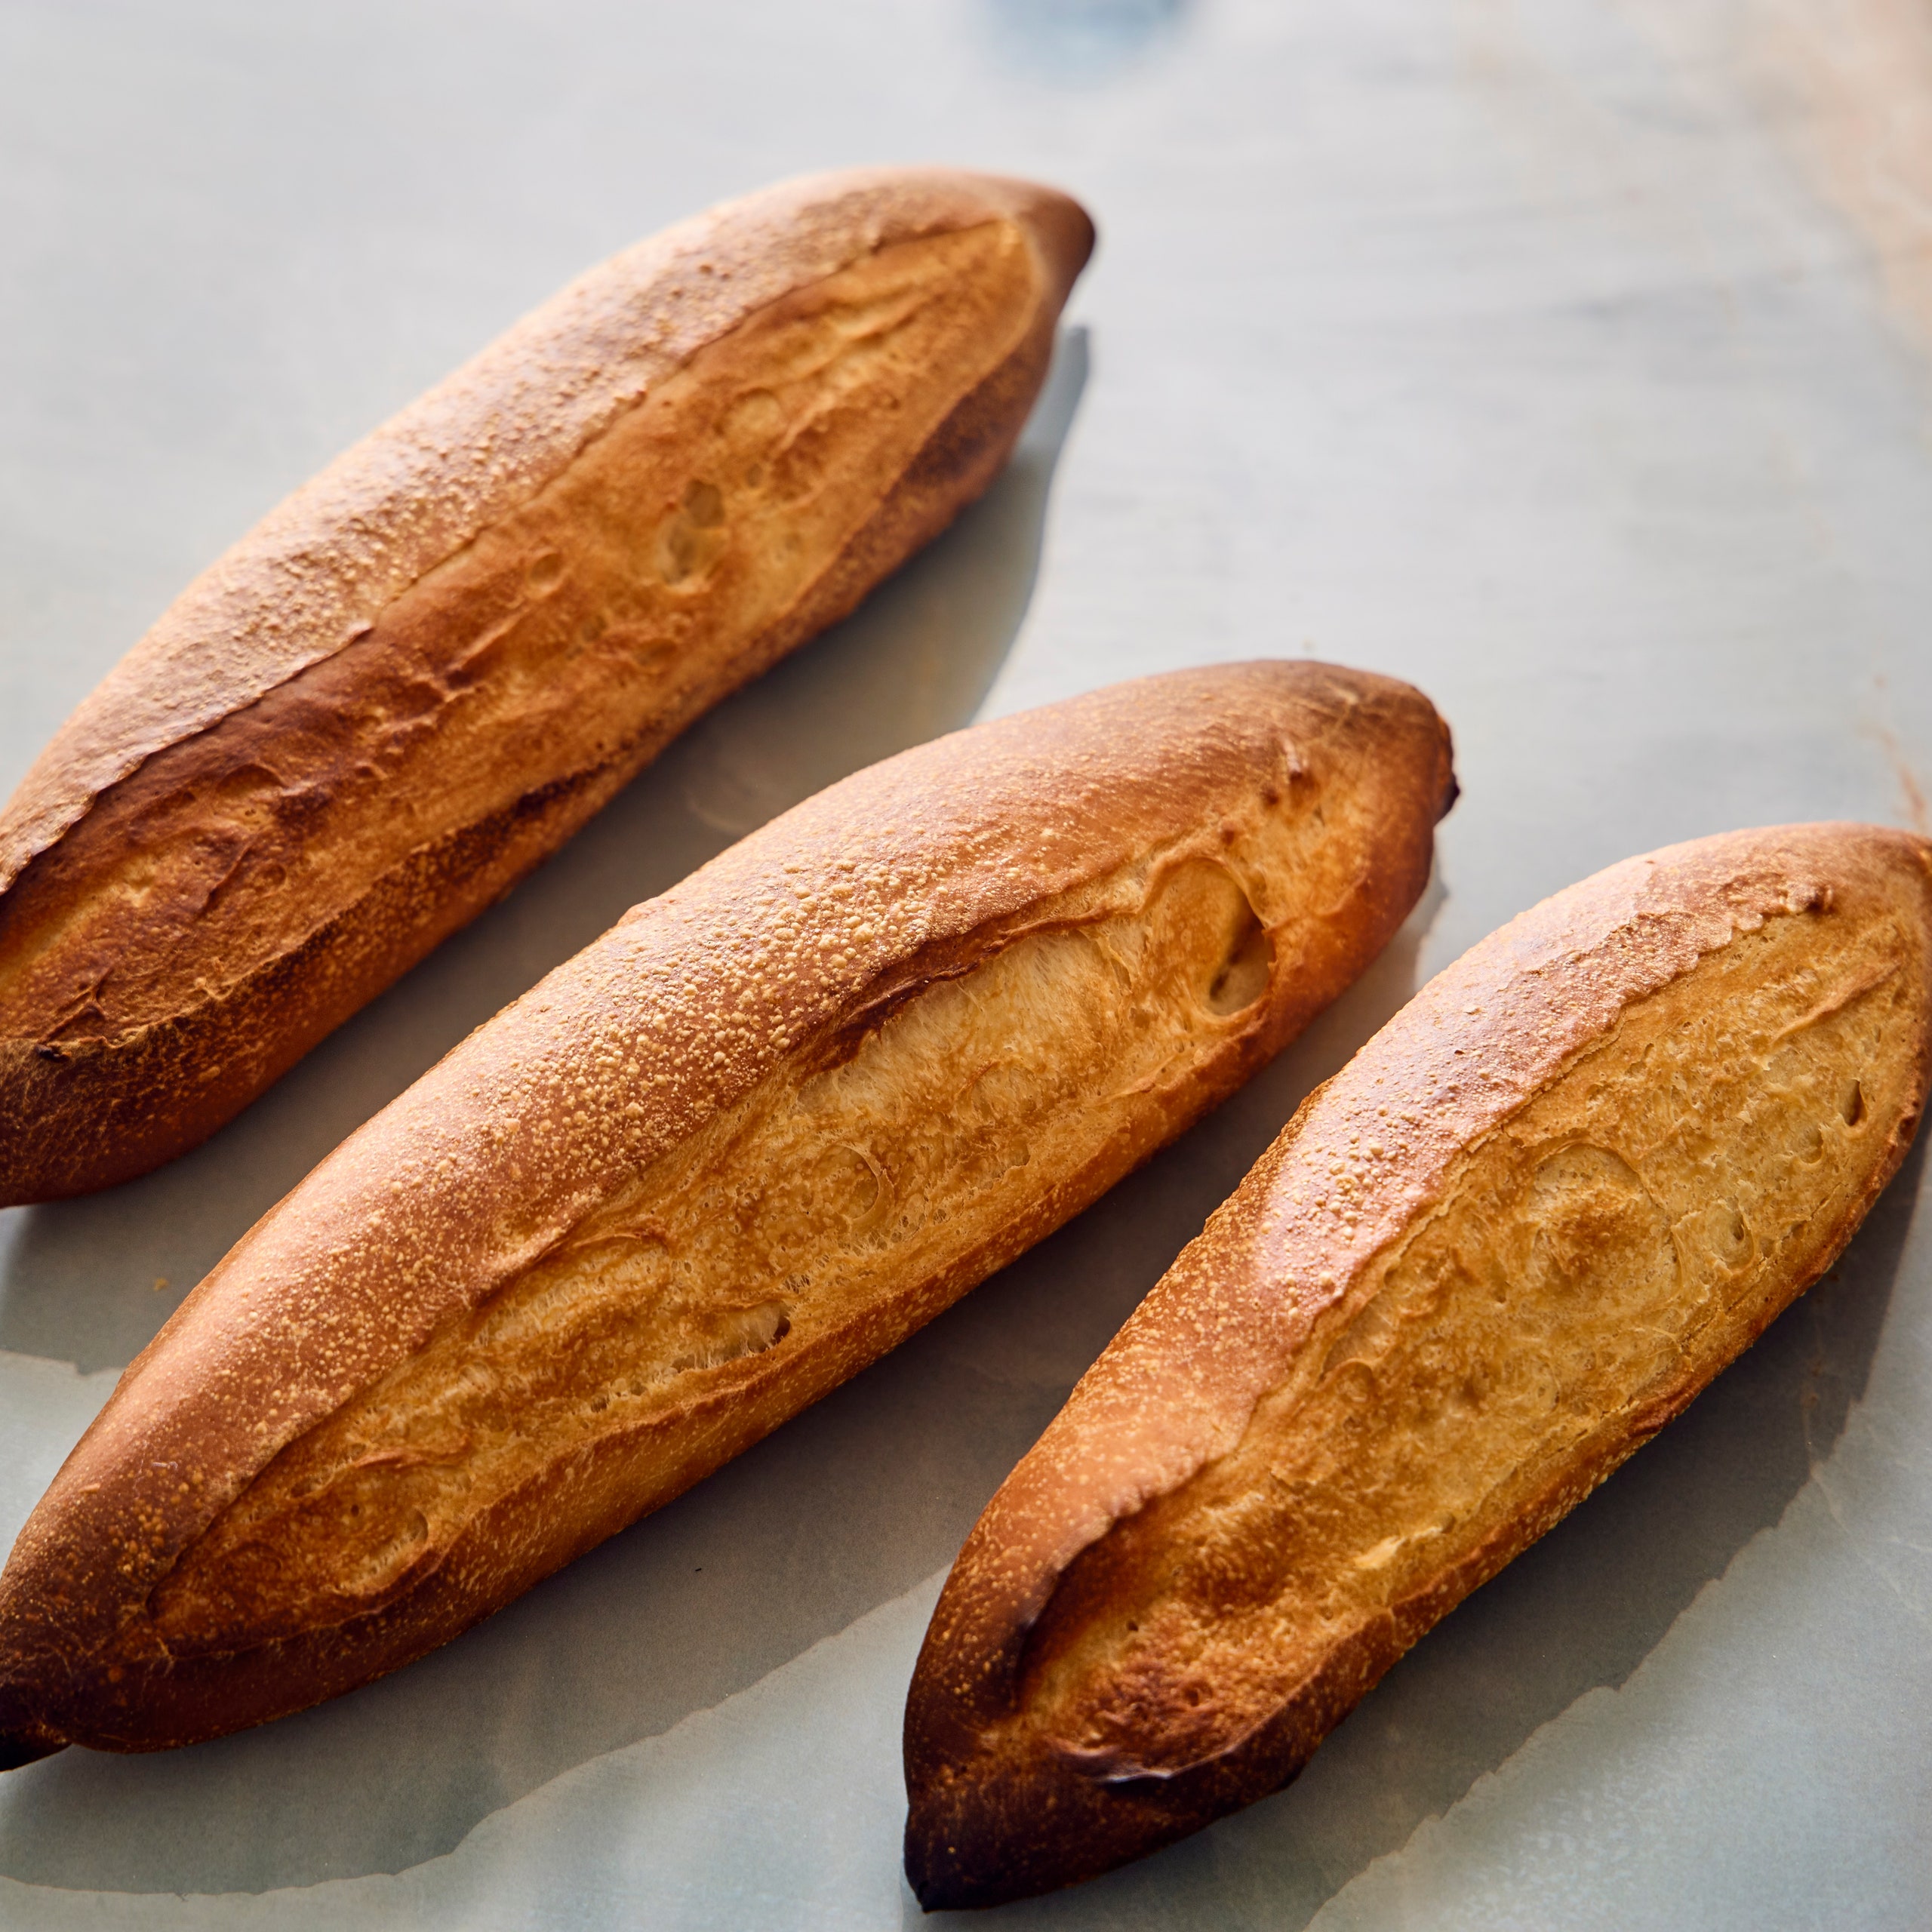
Bánh Mì Khong (Bánh Mì Bread)

There’s no dish that people associate as directly with the word bánh as this crusty, French-style bread. The term bánh mì could refer to the bread itself or the sandwich. So if you want to specify plain bread, you might want to say “bánh mì không,” and to refer to the sandwich, you should say “bánh mì ô.” Making loaves yourself is an especially đặc biệt way to approach the famous bánh mì sandwich. And it’s also surprisingly easy; it just requires some time and patience, like most breads. The trick is to use lime juice, which sounds weird. But the vitamin C helps activate the gluten, so you don’t have to spend a lot of time kneading the dough.
Recipe information
Total Time
1 hour (plus 2 hours 20 minutes for rising)
Yield
Makes 4 long loaves or 6 short loaves
Ingredients
Preparation
Step 1
In the bowl of a stand mixer, add 12 g sugar, 15 g freshly squeezed lime juice, 25 g vegetable oil or canola oil, 7 g instant yeast, 270 g cold water, 450 g bread flour, and 7 g kosher salt in the order listed. Use the hook attachment to help manually work the dough together, to make a shaggy dough.
Step 2
Place the bowl and hook onto the stand mixer and mix the dough for 5 minutes on medium speed.
Step 3
Take the dough out and form it into a ball and place it in a bowl greased with cooking oil spray. Wrap with plastic wrap and let it double in size. It should take about 1–1½ hours, depending on how warm your environment is. If the environment is warmer, the yeast will rise a lot sooner than if the environment is cooler, so be sure to check on it every 20 minutes or so. As soon at it doubles in size you can move to the next step.
Step 4
Place the dough on an oiled surface, knock out the air, and form it into a ball. Cover the ball in plastic wrap or place an inverted bowl over it and let it rest for 20 minutes.
Step 5
After 20 minutes, cut the dough into portions (4–6) and re-form the pieces into smaller balls. Pinch the dough in the bottom center and roll it in the palm of your hand on the table in a circular motion to make a smooth ball. Spray the dough balls with oil spray and cover. Let them rest for another 15 minutes.
Step 6
After it rests, form each mound of dough into a ball again by flattening the balls and pinching the dough into itself. Let it rest again, covered, for 10–15 minutes.
Step 7
Roll the dough out and shape the balls into baguettes by flipping them so that the top side is now on the bottom. Deflate only ⅔ of the bun, leaving one side still airy and plump and the other side more flat.
Step 8
Using a small oiled rolling pin, roll the deflated side out so that one side is very flat and evenly wide while the other side is plump and a little smaller. This helps build the bread to be fuller in the center.
Step 9
Once you have made a neat dough log, use both hands to roll the dough out to become longer and tapered on the ends.
Step 10
Lay the logs onto a baking sheet or baguette tray sprayed with a cooking oil spray, spray the dough, and cover with plastic wrap. Let it rest for approximately 35–45 minutes or until the dough bounces up when pressed lightly. While it rests, preheat the oven to 465°F.
Step 11
Once the dough has risen, place a sheet tray with water in it into the oven on the bottom rack. This creates a humid oven and helps with the crispiness of the bread.
Step 12
Cut slits on the top side of the dough to help it open up once baked.
Step 13
Mist the dough with water to increase crispiness. Place the baguettes onto the top-middle rack, mist the inside of the oven with some water, and bake for 8 minutes, then rotate the pan and bake for another 4 minutes.
Step 14
Lower the temperature to 400°F and bake for another 6–8 minutes or until the bread is golden brown. Check the bottom of the bread to make sure it gets golden, otherwise flip the bread over and bake for 2–3 minutes more until the bottom is nice and golden brown.
Step 15
Let the bread cool for a few minutes before serving.
